
TL;DR: Use the touch, tilt, light sequence. If anything feels off, refuse the note politely and call a supervisor.
1) Touch — Feel the Paper & Raised Ink
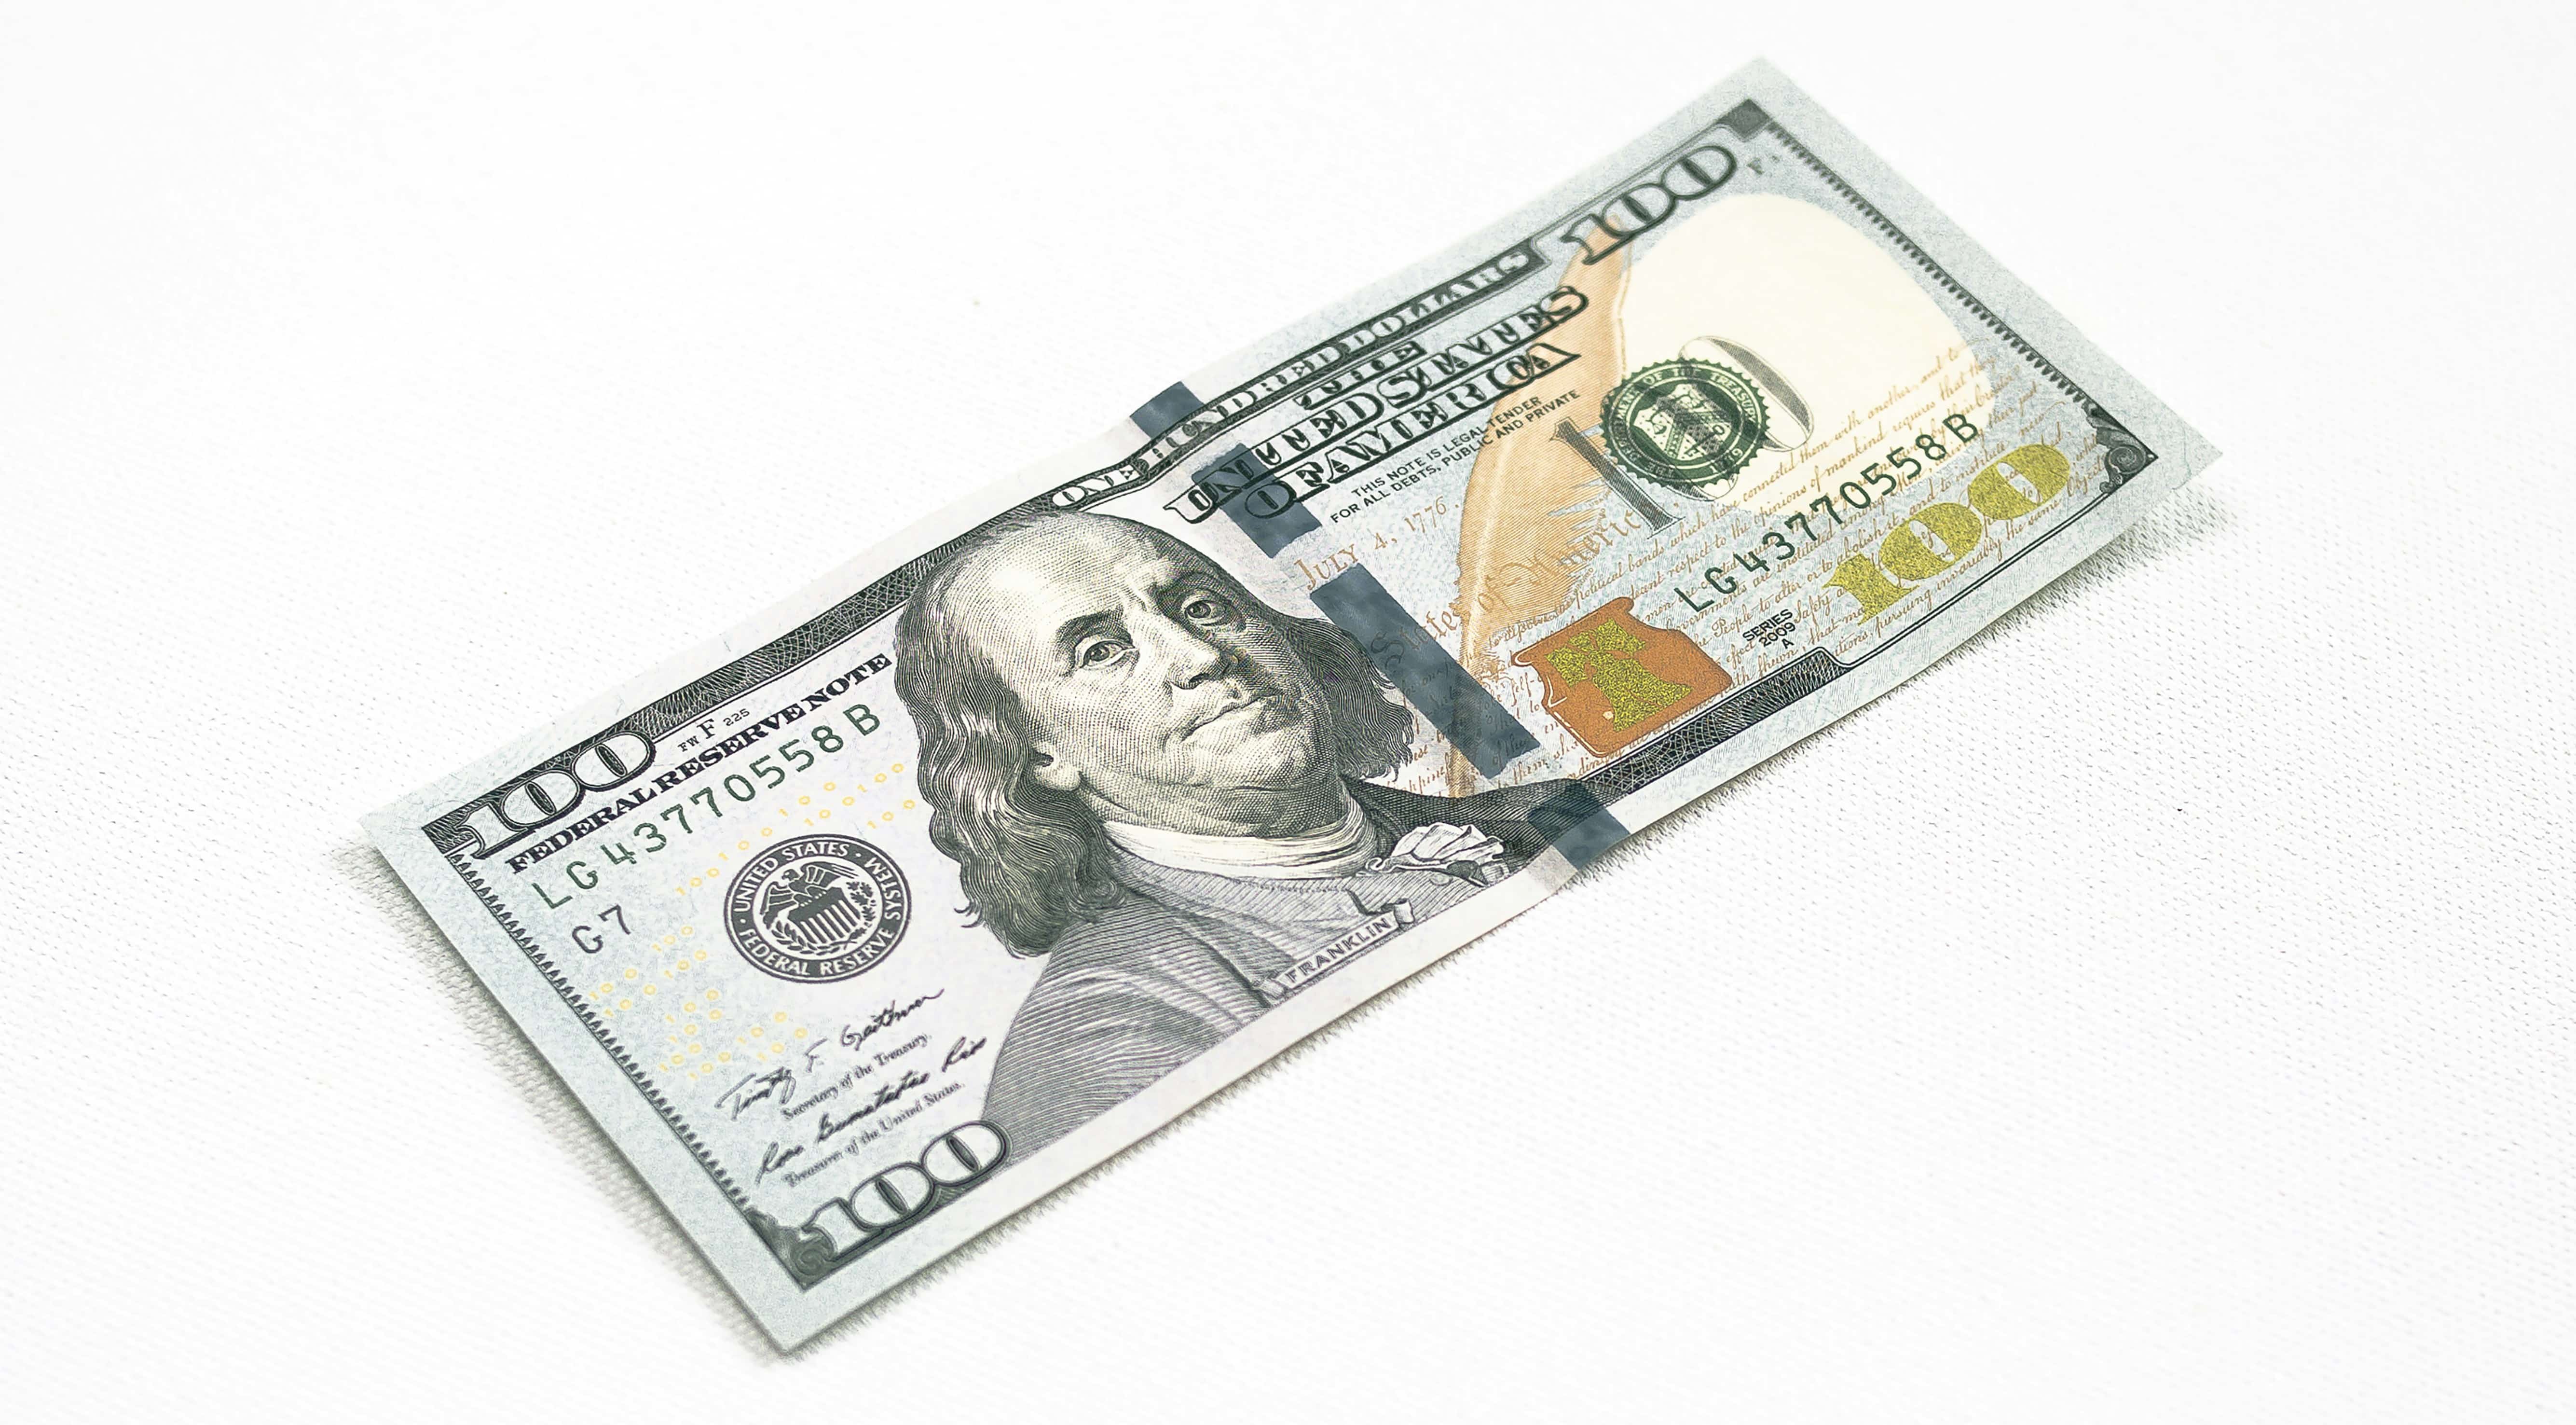
Genuine US currency is printed on a cotton–linen blend that feels slightly coarse, not glossy. Rub your finger over the portrait and the large denomination number — you should feel raised ink. If the paper is too smooth, thin, or the ink feels flat, be cautious.
2) Tilt — Holograms & Color-Shifting Ink
Tilt the note under light. Modern notes (e.g., $100, $50, $20) have color-shifting ink on the denomination number that changes from copper to green. The blue 3-D security ribbon on the new $100s should show bells and 100s moving as you tilt the note — not just printed graphics.


3) Light — Watermark & Security Thread
Hold the note up to a bright light. You should see a faint watermark portrait that matches the printed portrait (not just a dark blot), and a thin security thread running vertically with microtext like USA 100. Under UV, the thread glows a specific color per denomination.
4) Print Quality — Edges & Microtext
Look for clean borders and crisp, tiny lettering. Blurry edges, smeared ink, or repeating dot patterns can indicate a scanned/printed fake. On real notes, microtext stays sharp under magnification.
5) What to Do if You Suspect a Fake
Stay calm. Inform the customer you cannot accept the note. Do not return it if company policy requires logging. Call a supervisor and follow your station’s incident procedure.
Quick Reference (Desk Copy)
- Touch: cotton–linen feel, raised ink on portrait/number
- Tilt: color-shift ink; 3-D blue ribbon moves on $100
- Light: matching portrait watermark; vertical security thread
- Print: crisp borders, sharp microtext (no dots)
Tip: Keep a small UV torch at the till. It speeds up checks during peak times.